Like any document, it is easiest to make a Google Slides presentation accessible when you plan to do so from the start.
Use Pre-existing Slide Layouts and Master Slides
Adding New Slides
Slide Titles
Text Equivalents with Alt Text
Creating Accessible Tables
Provide Descriptive Hyperlinks
Use Comments and Suggestions
Run an Accessibility Check
Check Reading Order
Converting Google Slides
Additional Resources
Use Pre-Existing Slide Layouts and Master Slides
Use preset slide layouts whenever possible. These layouts help preserve a logical reading order for screen readers and assistive technologies.
Preset layouts also include default font and paragraph styles. Instead of changing styles slide by slide, you can modify the master slide to apply consistent formatting across the entire presentation.
Modify the Master Slide
- From the main menu, select Theme.
- Choose a theme you would like to work with.
- Select Slide to open the master slide view.
Any changes made in the master slide view will apply to all slides that use that layout.

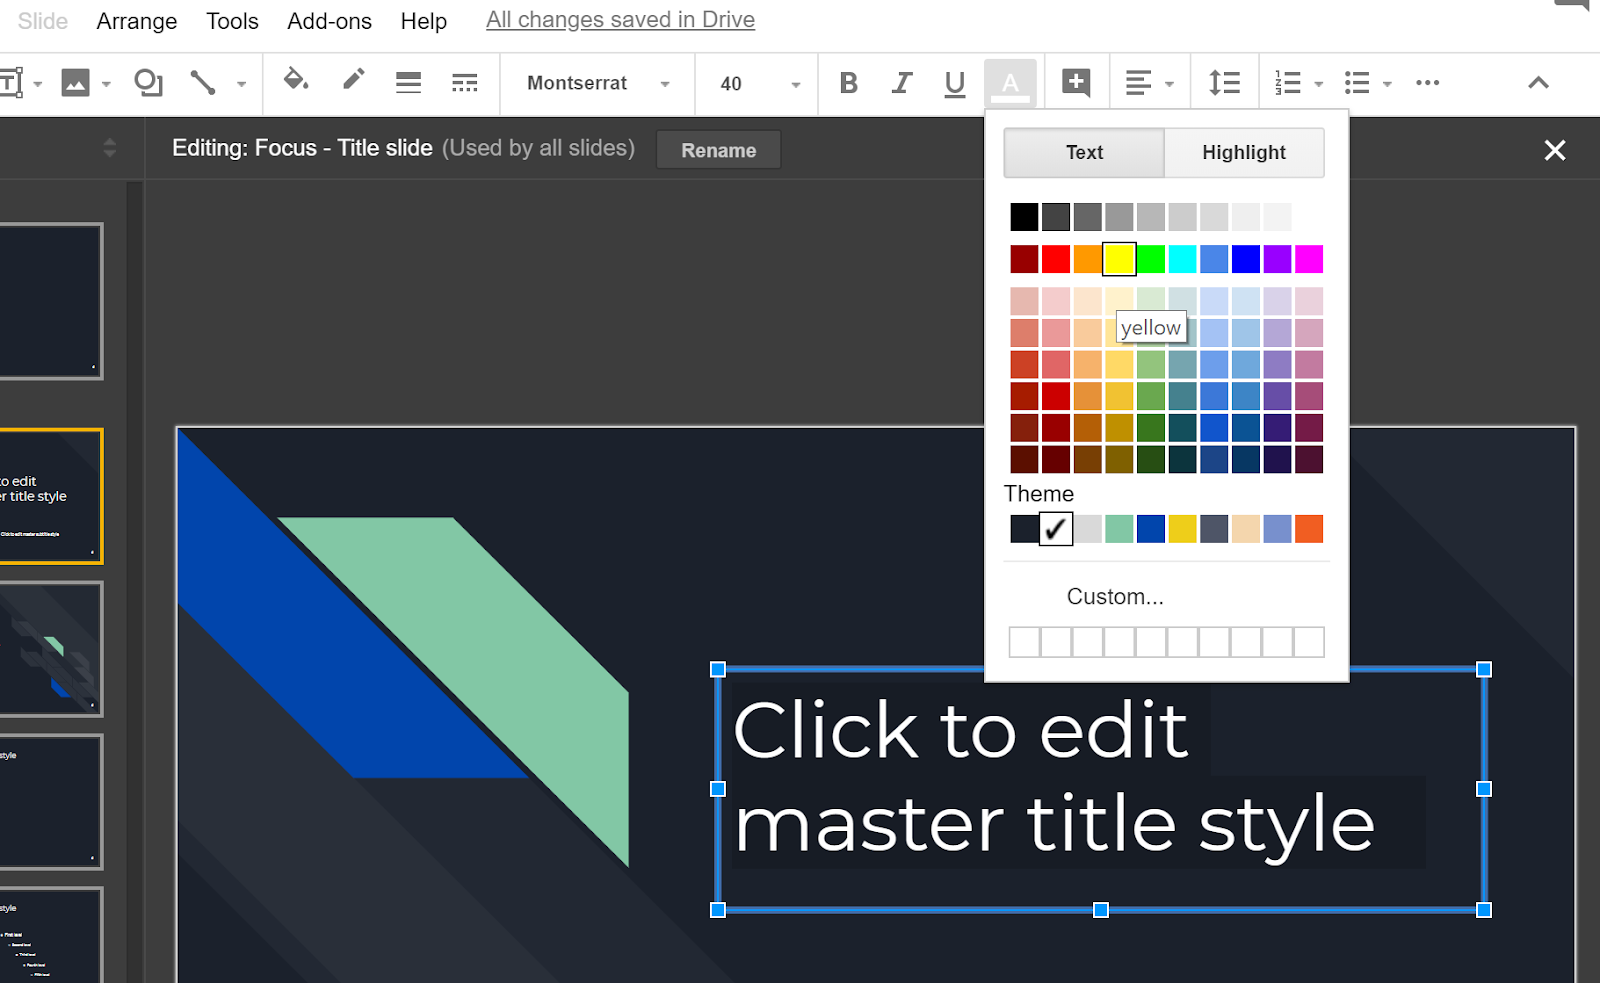
Adjust Text Styles in the Master Slide
- On the master slide, highlight the text you want to modify.
- Use the main menu to adjust:
- Font, font style, size, and color
- Text alignment
- Line spacing before and after paragraphs
- List styles
Example: To improve color contrast, change the font color to meet accessibility contrast guidelines.
Close the Master Slide
When you are finished making changes, close the master slide view by selecting the X in the top-right corner of the screen.
Formatting Tips
Use formatting choices that improve readability for all users, including those with low vision or who use screen magnification.
- Use 24-point text or larger for paragraph and bulleted text. Headings should be larger than body text to create a clear visual hierarchy.
- Use only one font throughout the presentation. Consistent fonts reduce visual clutter and make content easier to follow.
- Choose fonts designed for on-screen reading, such as Georgia or Verdana, or select one of the Google Slides default fonts below:
- Arial, Raleway, Montserrat, Nunito, Maven Pro, Merriweather, Roboto, Source Code Pro, Oswald, Lato, Proxima Nova, Old Standard TT, Playfair Display, Economica, PT Sans, Open Sans, Alfa Slab One
These fonts are optimized for clarity and legibility across different screen sizes and devices.
Back to top
Adding New Slides
When adding a new slide, always choose a preset layout to maintain a logical reading order and consistent structure.
- From the main menu ribbon, select the dropdown arrow next to the New Slide button.
- Choose the layout you want to add from the list of available slide layouts.
Using preset layouts helps ensure your content is properly organized for screen readers and other assistive technologies.

Slide Titles
Each slide should include a unique slide title. Slide titles help assistive technologies, such as screen readers, identify and navigate the content of a presentation.
A text box that appears empty visually may still be detected by assistive technology. Always ensure the title text box contains meaningful text.
Slides with Repeated or Related Content
When content spans multiple slides, make each title slightly different so users can distinguish between them. For example:
- Features of Campus (1 of 3)
- Features of Campus (2 of 3)
- Features of Campus (3 of 3)
— or —
- Features of Campus (continued)
Using unique slide titles allows users of assistive technology to understand where they are in the presentation and move efficiently between slides.
Text Equivalents with Alt Text
All images in a presentation should include alternative text (alt text) so that users who rely on assistive technology can understand the content conveyed by the image.
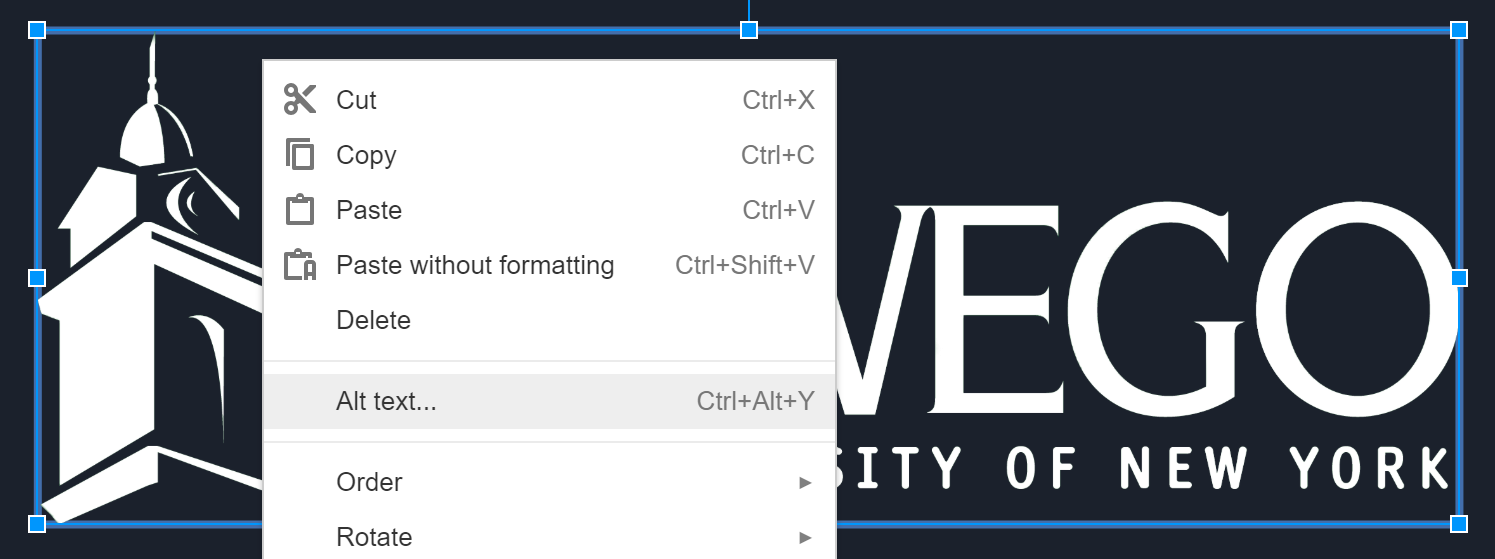
Add Alt Text to an Image
- Select the image in your slide.
- Right-click the image and choose Alt text.
- Keyboard shortcut: Ctrl + Alt + .
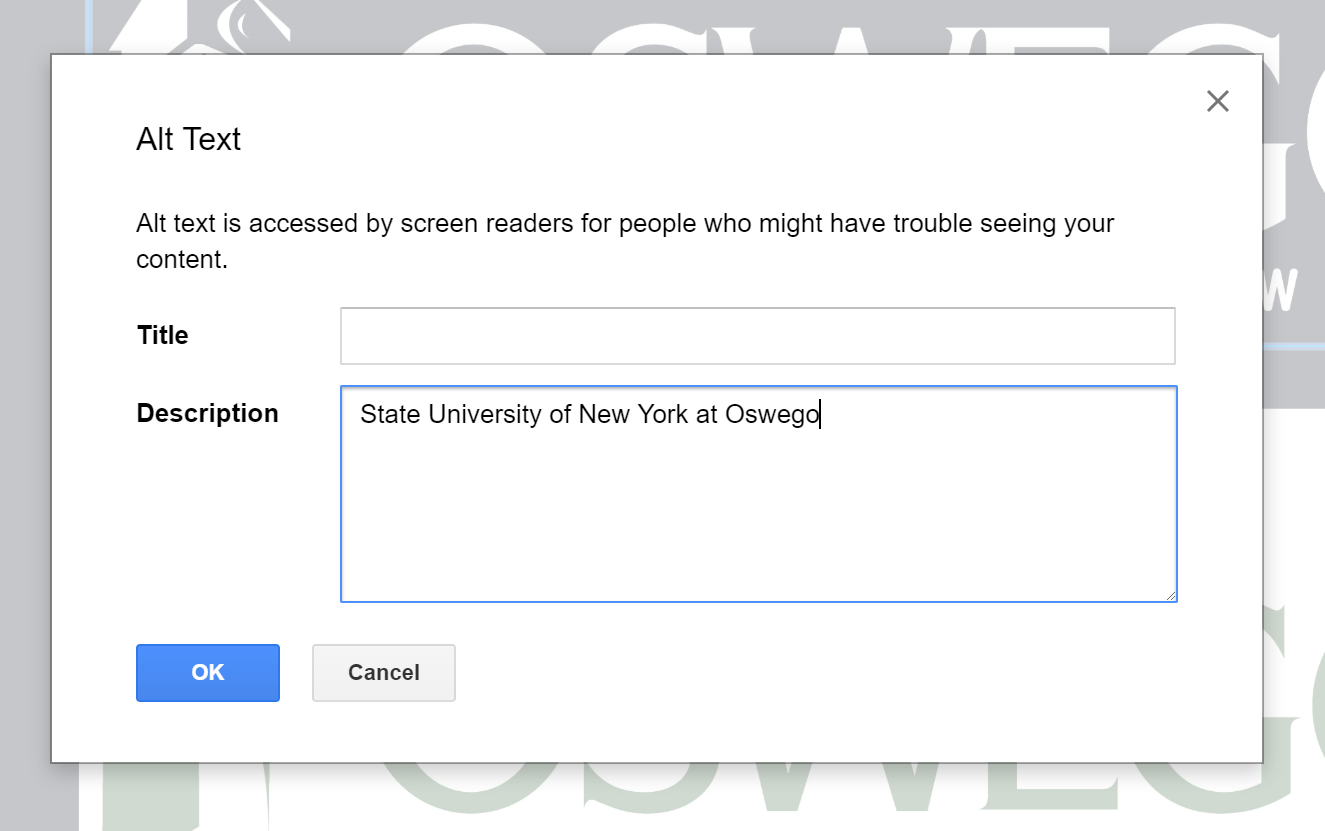
Write Effective Alt Text
- Enter a clear, meaningful description in the Description box.
- Describe the purpose of the image, not just what it looks like.
Example: For the SUNY Oswego logo, use:
State University of New York at Oswego
Complex Images (Charts, Graphs, Diagrams)
For images that contain more detailed information:
- Use the Title field to provide a brief label (for example, the chart title).
- Use the Description field to explain the key information shown in the image.
This approach ensures that users who cannot see the image still receive the same information as visual users.
Creating Accessible Tables
Use tables only for tabular data, not for layout or visual positioning. Screen readers identify the number of rows and columns in a table, read header information, and allow users to navigate the table one cell at a time. Proper table structure is essential for accessibility.
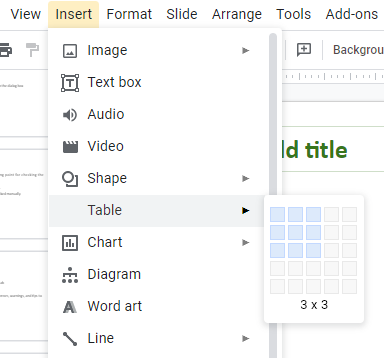
Add a Table in Google Slides
- From the main menu, select Insert.
- Choose Table.
- Use the grid to select the number of rows and columns you need, then click to insert the table onto the slide.
Enter Table Content
- Use the Tab key to move from cell to cell.
- Enter all relevant data into the appropriate cells.
Style Table Content
You may format text within table cells to improve readability.
- Highlight the row or cells you want to style.
- Use the main navigation menu to adjust font, size, color, or other formatting options.
Set Proper Table Headers
Table headers must be correctly identified so assistive technology can interpret the table structure.
- Visual styling alone does not define headers.
- Simply bolding or shading cells will not make them headers for screen readers.
To properly define header rows in Google Slides, see the Run Grackle Slides section.
Provide Descriptive Hyperlinks
Hyperlinks in an electronic document should be embedded within meaningful text. Descriptive links improve readability and allow users of assistive technology to understand where a link will take them without needing additional context.
For example, instead of displaying a full URL, link the text SUNY Oswego directly to the college’s website.
Create a Hyperlink
- Select the text you want to convert into a hyperlink (for example, SUNY Oswego).
- Right-click and select Link, or choose Link from the main menu.

Link Options
You can link to either an external website or a slide within the presentation.
To link to an external web page:
- Choose one of the suggested links, or
- Enter the URL in the Link field (for example, http://oswego.edu).
To link to another slide in the presentation:
- Select Slides in this presentation.
- Choose the slide you want to link to.
- Select Apply.
Use Comments and Suggestions
Use the comment feature instead of placing notes directly on slides. Comments are more accessible because screen reader users can use keyboard shortcuts to navigate between them, rather than searching through slide content.
Add a Comment
- Select Add comment from the main menu.

Comment Behavior
- A comment dialog box will open.
- If a specific element (such as text or an image) is selected when the comment is added, the comment will be directly associated with that element.
Using comments keeps instructional or editorial notes separate from slide content and improves navigation for users of assistive technology.
Run an Accessibility Check
Grackle Slides is an accessibility checker designed for Google Slides. It helps identify and fix accessibility issues before you share your presentation.
Install Grackle Slides
All campus owned computers have Grackle accessibility checkers installed, you can skip the install instructions if you are using your work computer.
You only need to install Grackle Slides once. After installation, it will always be available in Google Slides.
Note: This tool is different from the Grackle checker used in Google Docs.
- From the Add-ons menu, select Get add-ons.
- Search for Grackle in the dialog box.
- Select the + Free option to install.
- When prompted, confirm that you trust Grackle by selecting Allow.
This completes the installation.

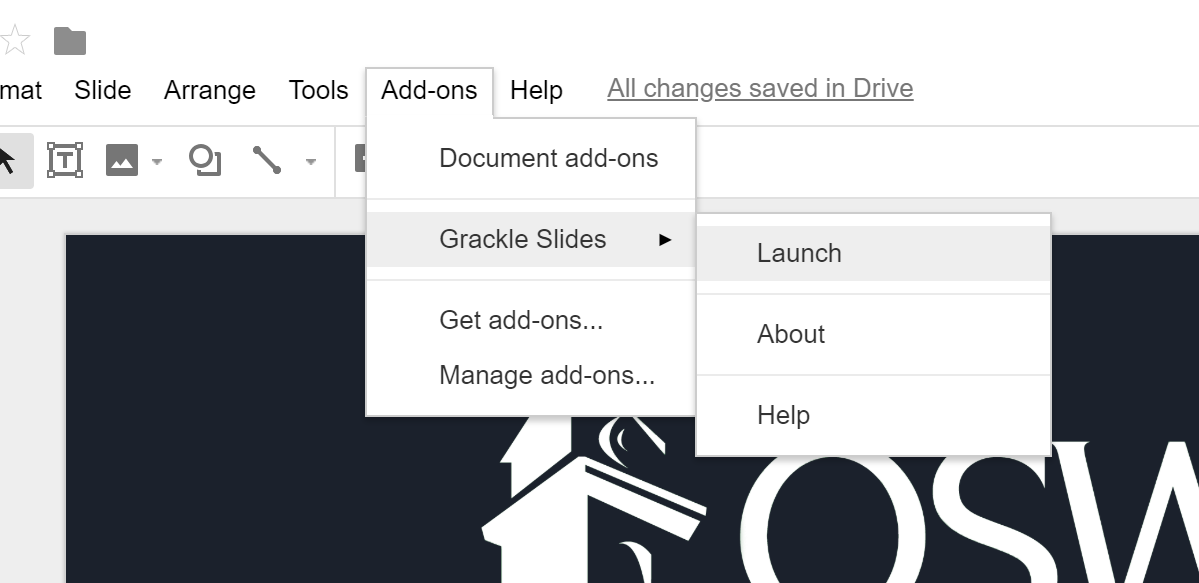
Run Grackle Slides
Before distributing your presentation, run the Grackle Slides accessibility checker to ensure no accessibility issues have been overlooked.
- From the Add-ons menu, select Grackle Slides, then choose Launch.
- A sidebar will open showing any detected errors and warnings.
Review and Fix Issues
- Expand the error details using the down arrow next to each item or under the Accessibility Check tab.
- Select an individual error to jump directly to the slide where the issue occurs.
Common issues Grackle may flag include:
- Missing alt text
- You can mark decorative images as artifacts so they are ignored by screen readers.
- Missing table headers
- Select the Tag button associated with a table to define the first row and/or first column as headers.
Address each issue one at a time throughout the presentation.


Recheck Your Presentation
- Select the Re-check button at the top of the sidebar after making updates.
- Continue revising until all accessibility checks have passed.
Check Reading Order
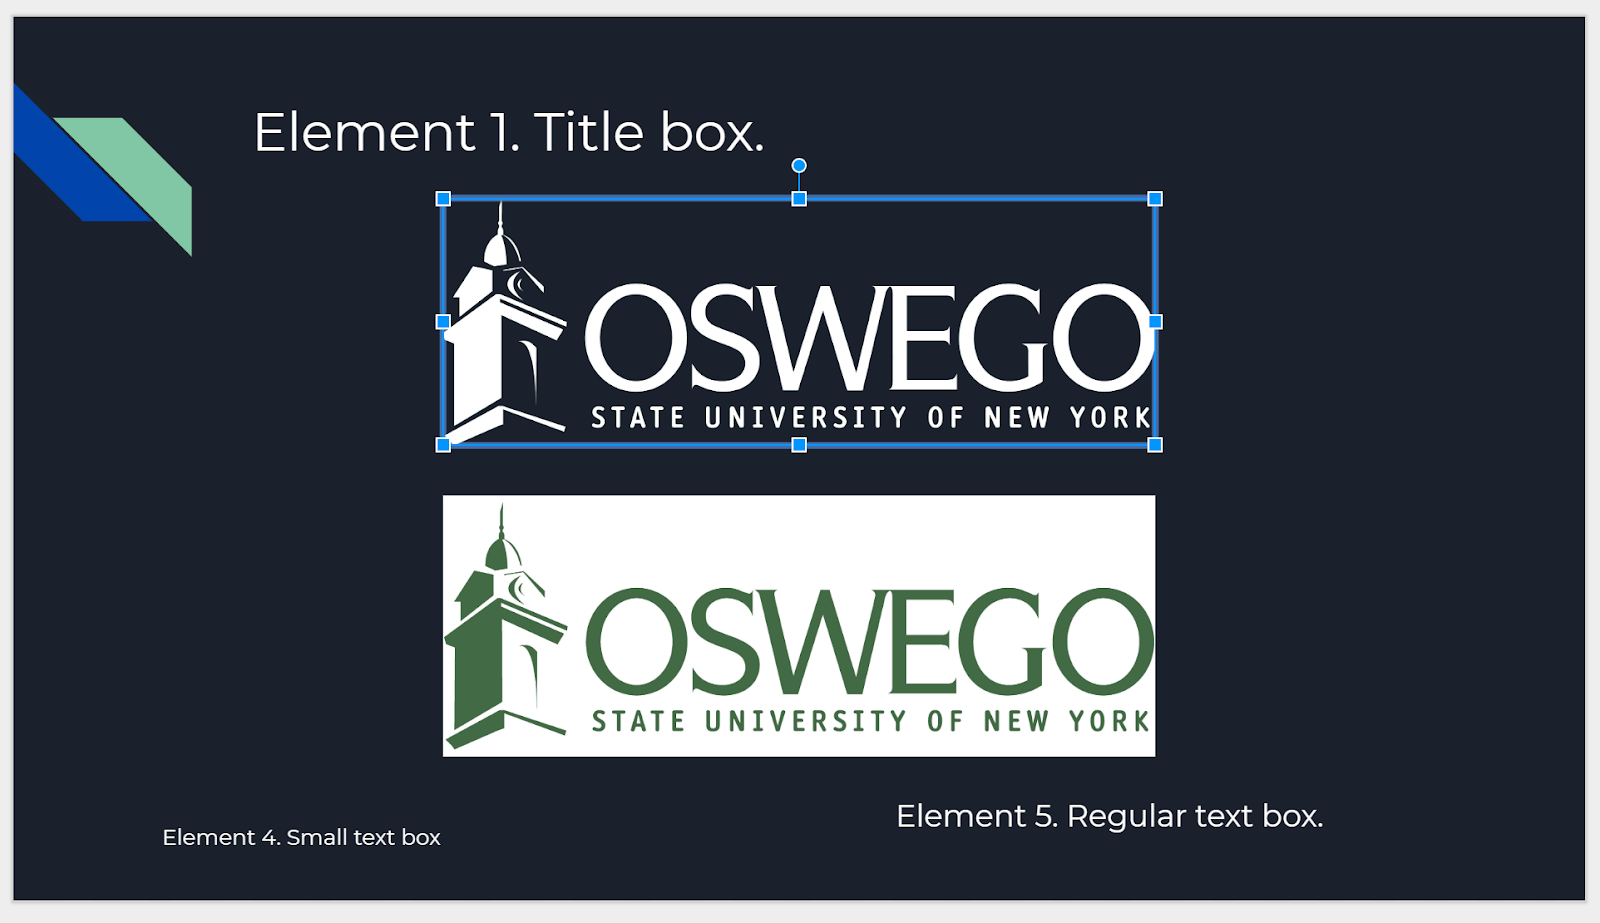
When elements are added to a slide layout, assistive technologies may not read them in the intended order. Reading order must be checked manually, especially when logos, text boxes, or other elements are added to an existing layout.
In the example shown, two logos and two text boxes were added to the original slide layout, which can change how the content is read by a screen reader.
Verify the Reading Order
To check the order in which elements are read by assistive technology:
- Place your cursor on the top, left-most element on the slide.
- Press the Tab key repeatedly.
The order in which elements are selected is the order in which they will be read by a screen reader.
- Elements are read starting with the item furthest back on the page and ending with the item furthest forward.
- You can also view the reading order in the Slides Structure tab in Grackle Slides.

Change the Reading Order
If the reading order is incorrect:
- Select the element you want to reposition in the reading order.
- The selected element will also be highlighted in the Slides Structure tab.
- From the main menu, choose Arrange, then hover over Order.

Order Options Explained
Four options are available for adjusting reading order:
- Send to back
- Places the element at the top of the reading order, making it the first item read by a screen reader.
- Send to front
- Places the element at the bottom of the reading order, making it the last item read.
- Send backward
- Moves the element higher in the reading order.
- Bring forward
- Moves the element lower in the reading order.
Confirm the Updated Order
After making changes, use the Tab key again to confirm the reading order is correct.
Converting Google Slides
When converting a Google Slides presentation to another format, such as a PDF, it is important to understand that accessibility may not fully transfer to the new file format, even if the original Slides presentation is accessible.
If you convert your presentation to a PDF:
- Review the PDF carefully to ensure accessibility elements were preserved.
- Open the file in Adobe Acrobat Pro and run its built-in accessibility checker.
- Address any issues identified before distributing the document.
Refer to the Acrobat Pro accessibility tutorial for detailed guidance on reviewing and remediating PDFs.
Additional Resources
- Article, “How to Make Your Presentations Accessible to All” from W3C
- Article, “Make your document or presentation accessible” from Google Support